In this tutorial I will explain how to build a physical taskboard out of electrical tape step by step, for those of you who -like me- were not born with a gift for bricolage. I admit up front to this post not being my most intellectual piece of work ever, but I’m hopeful more than one of you out there will find it at least marginally useful.
I will demonstrate using a 120 x 90 cm whiteboard, the smallest format that will support a small team board. Magnetic whiteboards make great task boards because the surface is so versatile: you can write on it, you can stick magnets, post-its stick and unstick very cleanly, so does Scotch Magic tape, and -most important for this case- so does electrical tape, which is what we will be using to make the lines. That means that if you make a mistake, you can just unstick and re-stick the tape, though it will never be as easy as the first time around. The downside, of course, is that they are expensive and/or not always available for hijacking in your office. That’s why I advocate building boards wherever you can: I have built boards on the back of closets, directly on walls, and even on windows (looks cool at first, but later it’s very distracting – your attention always ends up going to what’s outside).
What you will need:
- 1 ruler
- 1 roll of electrical tape
- 1 whiteboard marker
- 1 pair of scissors
Note: if you don’t have a whiteboard, electrical tape might ruin your surface (for example it might peel off low quality wall paint). A good alternative is thin blue painter’s masking tape.
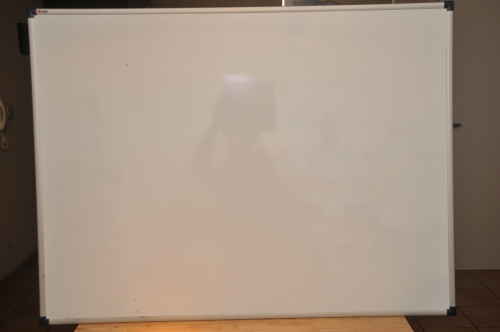
Step 1: This is how our whiteboard looks before starting. If you did not buy a new board, make sure it is clean of any old whiteboard marker ink, old pieces of scotch tape, etc.
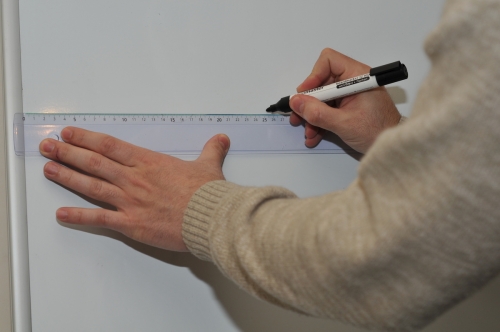
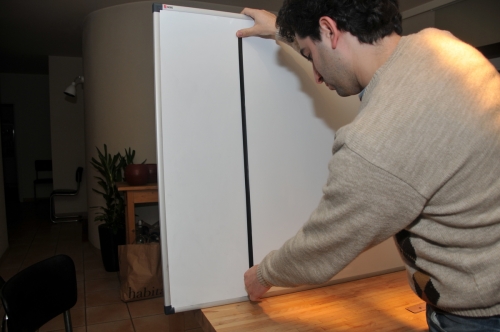
Step 2: Make two small marks at 25 cm from the left side of the board, one should be around 5 cm from the top, the other almost at the bottom.
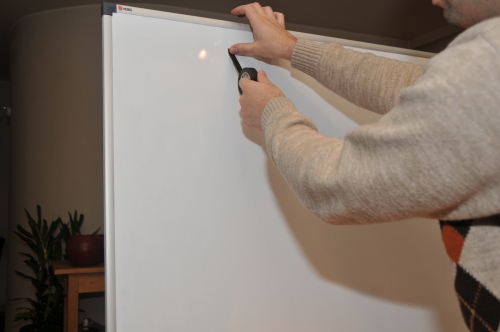
Step 3: Press the tip of the tape with your thumb on the top mark.
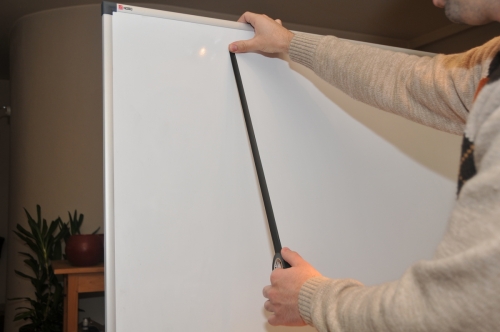
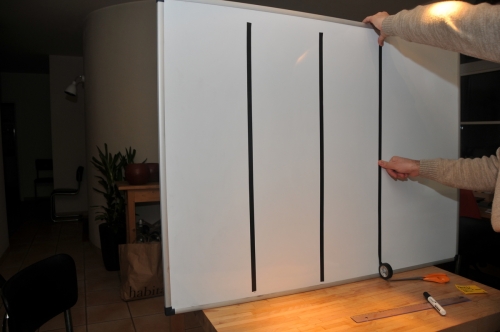
Step 4: Carefully extend the tape out and downwards, without touching the board, making sure you do not pull too hard on the tape. Electrical tape is elastic, and if you pull, you will stretch it and stick it in a stretched state. Later on it will contract to its original length, unsticking and curling upwards, ruining all your great effort. (It took me several cases of shouting “Who sabotaged my taskboard!” in vain to figure this out)
Step 5: With the tape still only touching the board at the point pressed by your thumb, carefully bring down the roll of tape onto the bottom point.The full roll should be resting on the bottom dot. The tape will now be touching the board but only lightly.
Step 6: Carefully pass your thumb upwards over the entire tape, which should stick cleanly and nicely to the board.
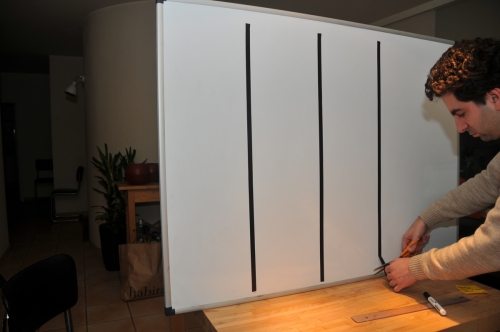
Step 7: Cut the tape at the bottom and voilá, you should have a perfect line.
Step 8: Repeat 3 more times, each line 25 cm from the one before it. You should now have 4 vertical lines.
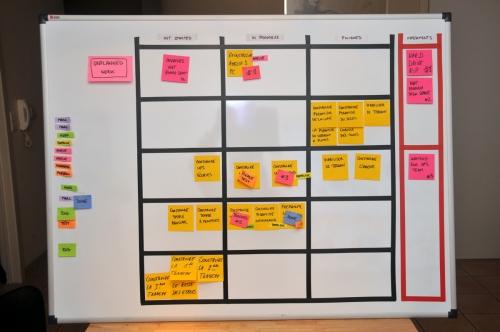
Step 9: The horizontal lines should be placed in a similar way. First put the bottom line on the bottom of the board. Then measure upwards at distances of 15 cm. You should be able to place 6 lines.
Step 10: Add any additional sections you wish in a similar fashion. Then add little signs for the columns, status tags, nametags, team pictures, and you are ready to start scrumming!
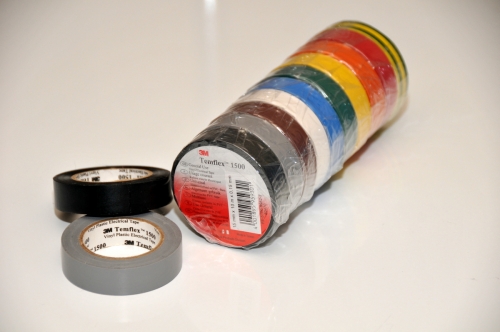
For the electrical tape, I recommend 3M Temflex 1500. This tape is cheap and high quality and in Belgium can be purchased at the Brico for less than 1 euro the roll. Look for these packages of 10 rolls if you are going to build multiple boards for different teams: you get all kinds of colors.

Recent Comments